Occasions like birthdays and anniversaries should always be organized so that we cherish that day. The remainder of the years that have passed by that glorious day should be celebrated with a bang. The feeling that it is their day should be something that is to be emphasized. These one or two special days in a year are the ones that need to be made memorable not by chance but by intention.
These special occasions can be made more joyful by giving a token of our love in the form of a gift. Gifts always leave an imprint in our hearts. It does not matter whether it’s less or more expensive or inexpensive. It is the feelings that matter—the thought put in and the effort made. A gift should never be seen as a sign of luxury, show off, or a liability to be exchanged now and then.
Personalized gifts make a special place in the heart and the memories. Be it special days like a birthday or a day that reminds us of a cherished memory. Adding a pinch of that personalization magic always works. They still rank number two on my list of types of gifts. The one that always was and always will be on top is handmade gifts.
Handmade gifts are the best! You can fight me over it, but these little gestures and the hard work put into these make me genuinely smile. It can make any and every person feels happy and spread a genuine smile over the lips. It also depicts immense care and love.
Today we will make a mini personalized handmade gift. It can be an element in a bigger gift like a scrap file or an explosion box.
So here are three ways to make a heart slider:
Table of Contents
The basic slider (mini version)
You can make it in various sizes according to the requirement. This will tell you how to make a basic and small version. The special feature is the heart added towards the end of the slide. It adds a little something special to the most basic slider.
Materials required
- Rectangular sheet (you can take a designer sheet that has a design on both sides for convenience)
- Double tape
- A pair of scissors
How to make it?
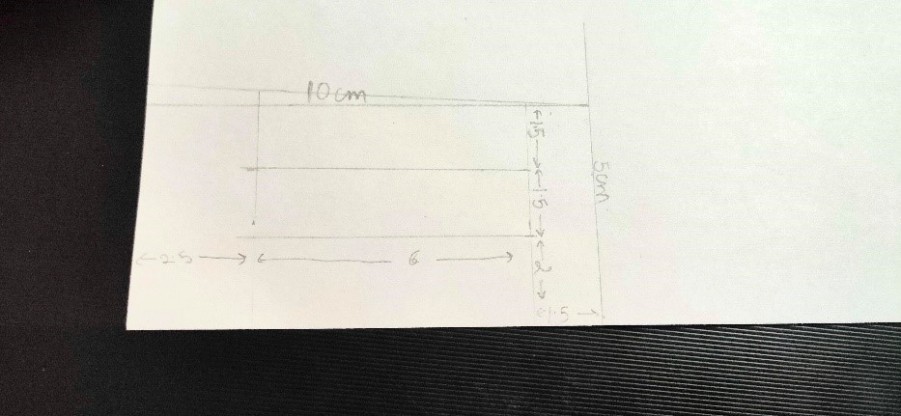
- Take a rectangular sheet of 5 X 10 cm.

- Mark two-line horizontally
- Make two lines vertically.
- Now make a slight curve on the side shown. You can make it on both sides.
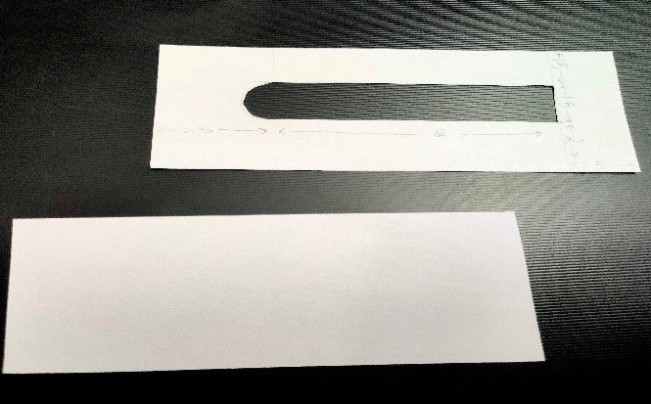
- Cut out the obtained inside the rectangle.

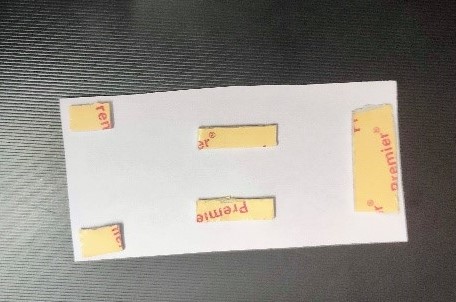
- Take the other sheet and tape it as shown. If you are new to this, tape the cutout sheet as we need to place a double tape line horizontally perfectly for the sliding capability. (see how in type three pictures)

- Tape both the rectangles together.

- Cut out another rectangle of around 1.6 X 2 cm.
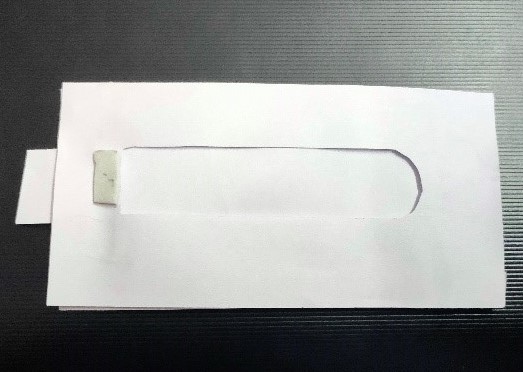
- Insert it inside.
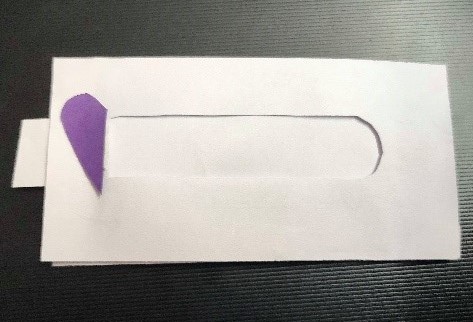
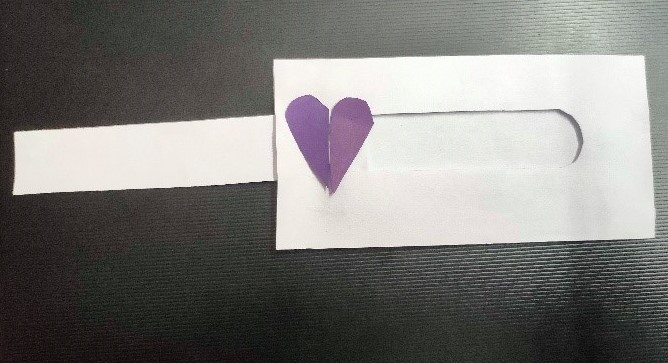
- Add a heart with the help of double tape, as shown in the picture. The one on the slider should be taped to the end. The other one should be taped to the slider paper.

- The glider will get smooth after a few uses as the taping capacity of tapes on the side stop from making it stop.

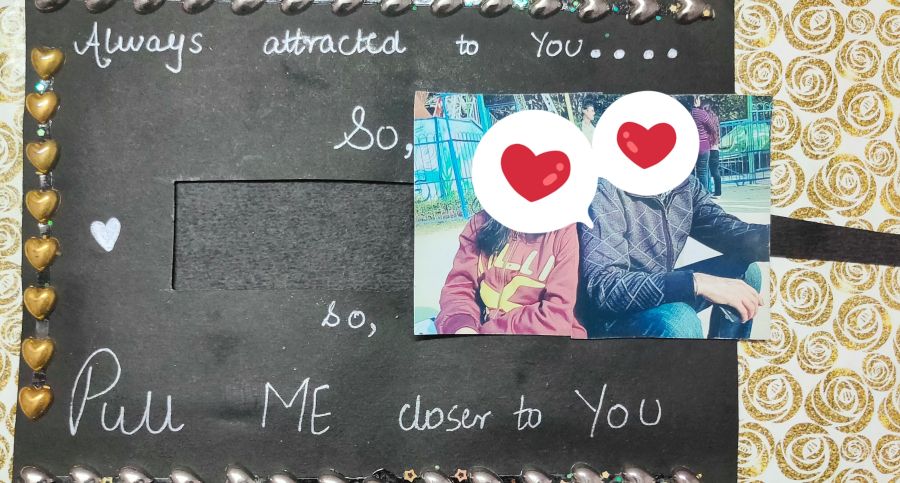
The picture slider
One-half meeting the other sounds so romantic, so let’s give it an artsy twist by making a slider. The two halves won’t be able to resist each other. One half will be pulled towards the other, just like the magnetic force. This slider adds a personal touch and stands out from other typical sliders.
Materials required
- Designer sheet
- Double tape
- A picture
- A pair of scissors
- Scale and pencil
How to make it?
- Make the slider similar to the one shown above.
- Take a picture and cut it into half and replace it with the heart.
- A sample slider is given below. (you can cut a heart on the slider paper too)

The heartiest slider
This slider is a heart. Do we even need to explain more? It’s a heart-shaped cute slider gift suitable for those lazy yet caring people.
Materials required
- Sheet
- Double tape a pair of scissors
- Scale
- Pencil
How to make it?
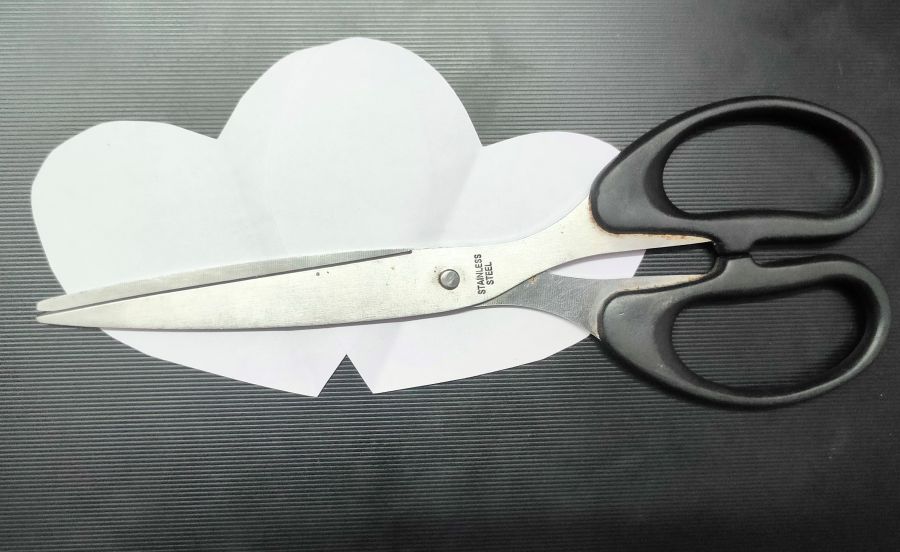
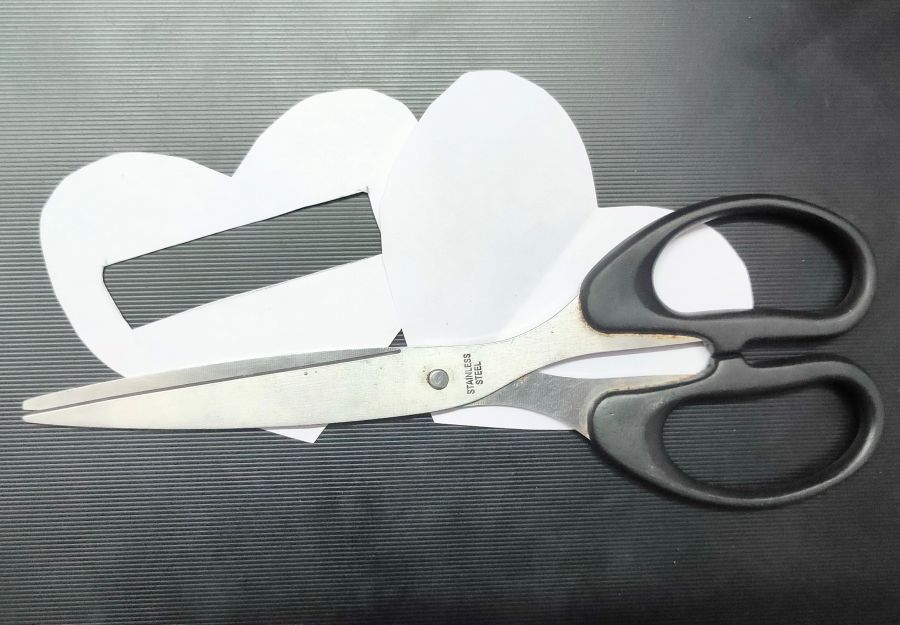
- Take a piece of paper, fold it in half, and draw a heart. Cut it.
- Cut an identical heart taking the prior one as a stencil.

- From the center, cut the mark 3 cm on each side, make a rectangle with rounded ends, and cut it out as shown.

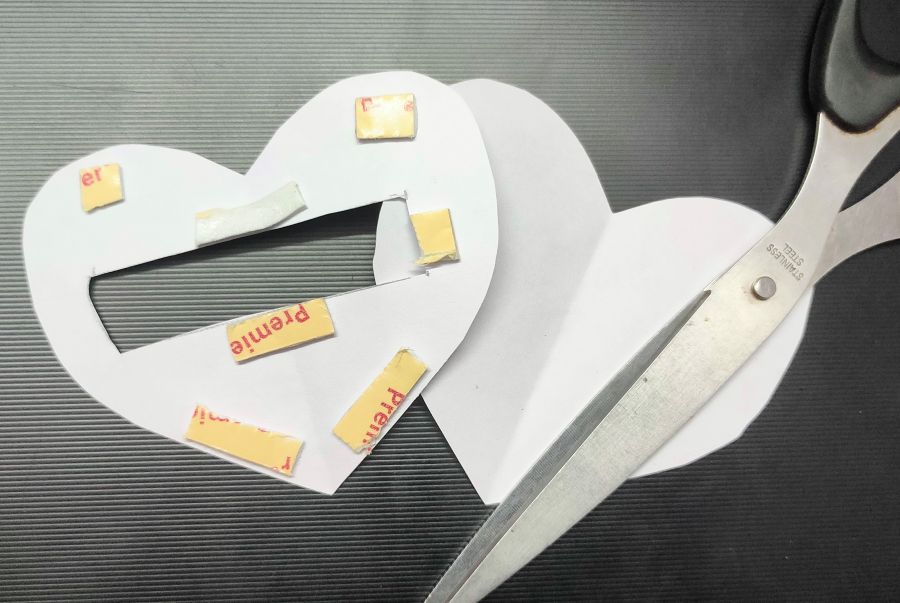
- Place the double tape, as shown.

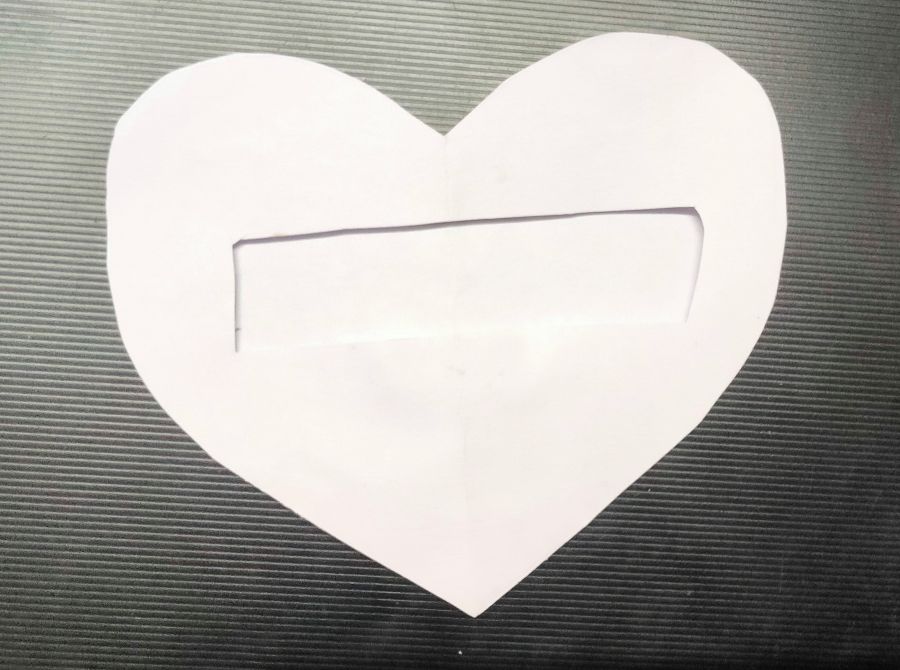
- Tape both the hearts together.

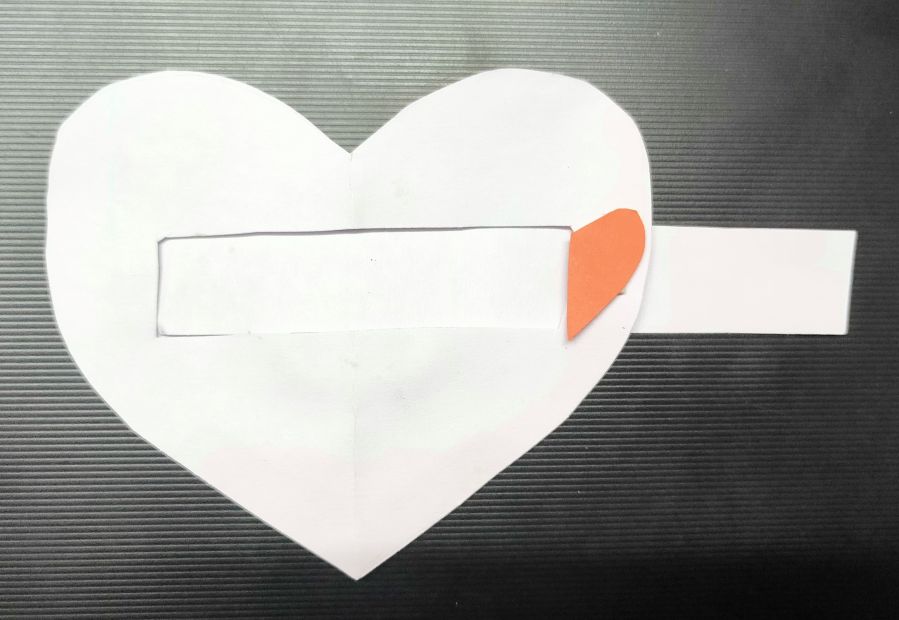
- Make the slider and add it in between.

- Tape the heart, as shown—one on the slider and the other on the glider.

- If taking dimensions by yourself, make sure the heart is not elongated as it will make the slider short.

Tips
- You can always choose the colors you desire.
- You can shape the slider in heart shape, too, in the basic version. A picture of it will be posted along with the basic version.
- Chose a picture in which both people in the picture are a bit far from each other to look subtle.
You should try these DIY heart sliders and surprise your close ones with this mini yet amazing gift.